React Native - Flexbox - Mobile App Development
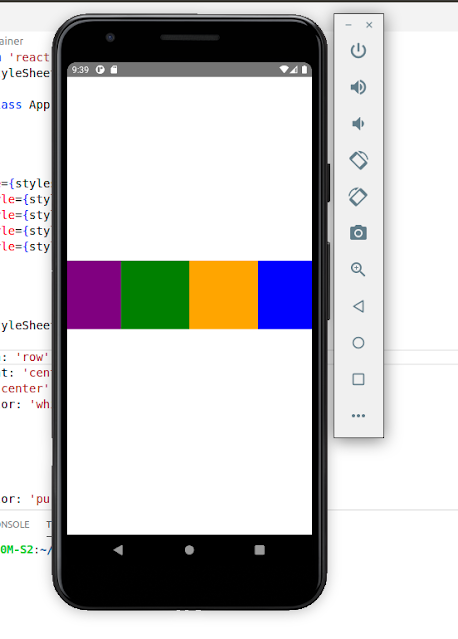
Flexbox is a layout technique that is utilized to structure the layout of our application in a responsive manner. Flexbox provides three main properties to achieve the desired layout. These properties are flexDirection, justifyContent, and alignItems. f lexDirection (column, row) : Used to align its elements vertically or horizontally. justifyContent (center, flex-start, flex-end, space-around, space-between): Used to distribute the elements inside the container. alignItems (center, flex-start, flex-end, stretched): Used to distribute the element inside the container along the secondary axis. Our demo app screen will look like this − flexDirection(row) Implementation First, You must set up your local development environment. Follow the below link to set up your local environment. React Native - Environment Setup - Create a new project After executing the commands mentioned in this link , a folder with a specified name is created with the following contents. Edit the App.js file


