JHipster: Micronaut + Angular + SQL Database CRUD example
Hello everyone, today we will learn how to generate a Monolithic Full-stack web application that is a basic Employee Management Application using JHipster. Technologies used: Micronaut, Angular, H2DB, Maven.
User Interface
JHipster is an open-source application development platform to quickly generate, develop, & deploy modern web applications & microservice architectures using Angular or React or Vue and Spring Boot or Micronaut Frameworks.
Micronaut is a modern, JVM-predicated, full-stack Java framework designed for building modular, facilely testable JVM applications with support for Java, Kotlin and the Groovy language.
Micronaut is a modern, JVM-predicated, full-stack Java framework designed for building modular, facilely testable JVM applications with support for Java, Kotlin and the Groovy language.
JHipster Micronaut Environment Setup
Step 1: Install Java 11, click here
Step 2: Install Node.js, click here
Step 3: Install JHipster using the following commandnpm install -g generator-jhipster@6.10.5oryarn global add generator-jhipster@6.10.5
orDownload the JHipster Docker image, click here
Step 4(Optional): You normally don’t have to install anything, as JHipster will automatically install the Maven Wrapper or the Gradle Wrapper for you. If you don’t want to use those wrappers, go to the official Maven website or Gradle website to do your own installation.
Step 5: Install the JHipster Micronaut blueprint:npm install generator-jhipster-micronaut@1.0.0
Step 1: Install Java 11, click here
Step 2: Install Node.js, click here
Step 3: Install JHipster using the following command
npm install -g generator-jhipster@6.10.5or
yarn global add generator-jhipster@6.10.5or
Download the JHipster Docker image, click here
Step 4(Optional):
You normally don’t have to install anything, as JHipster will automatically install the Maven Wrapper or the Gradle Wrapper for you. If you don’t want to use those wrappers, go to the official Maven website or Gradle website to do your own installation.
Step 5: Install the JHipster Micronaut blueprint:
npm install generator-jhipster-micronaut@1.0.0Creating a Web App using JHipster
Step 1: Create an empty directory in which you will create your application.mkdir myapp
cd myapp
Step 2: To auto-generate your application, type below commandmhipster
Step 1: Create an empty directory in which you will create your application.
mkdir myappcd myappStep 2: To auto-generate your application, type below command
mhipster
Answer the questions asked by the generator to create an application tailored to your needs, like below:

Click Enter,
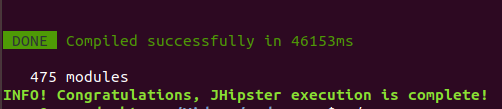
If everything goes fine, then you see the following output in your terminal:

Answer the questions asked by the generator to create an application tailored to your needs, like below:
Click Enter,
If everything goes fine, then you see the following output in your terminal:
Create the Entity called Employee
mhipster entity EmployeeAnswer the questions asked by the generator to create the entity.
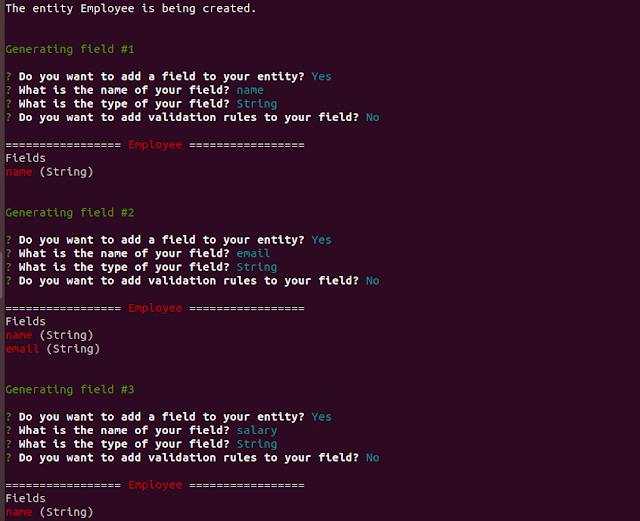
If everything goes fine, then you see the following output in your terminal:
Running the Application
Once the application is generated, you can launch it using Maven ./mvnwGradle./gradlewStarting the Micronaut application on port 8080:

Once the application is generated, you can launch it using
Maven
./mvnwGradle
./gradlewStarting the Micronaut application on port 8080:
The application will be available on http://localhost:8080
The application will be available on http://localhost:8080
Demo
- Select the Sign-in
- Select the Sign-in
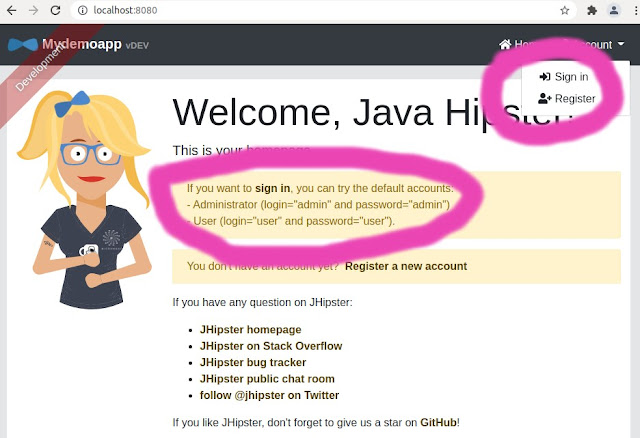
- Enter the admin credentials to log in to the application.

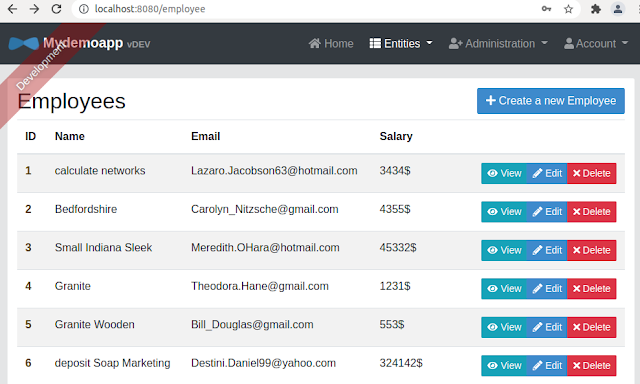
- Then select 'Employee',

- You will get the Employee management page.
Next, You can open the project with your favourite IDE and start exploration,


